|

In this guide I assume that you have learnt everything I’ve already explained in my previous guide, where you can find main guidelines. I won’t cover the entire process again; just digging and putting attention on some particular key aspects.
Ready?
Do all cables have the same quality?
Well… not at all. Although the differences are not that big, it's not hard to find them if you focus on high frequencies. Cheap cables do loose some decibels (dB, the unit that measures volume*) in these frequencies. There’s an endless discussion the real difference of ultra-high priced cables, but everyone can assure that there indeed exist differences between cheap and high quality or semi-professional cables. I have also measured it by myself with an audio RTA (Real Time Analyzer).
* dB is really an unit of dynamic range, but it's commonly used to measure sonic pressure, which in common language means volume.
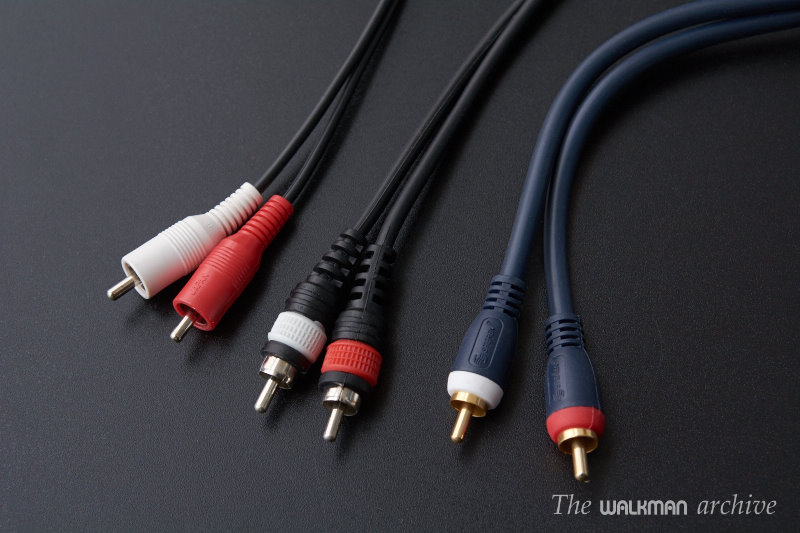
From left to right: cheap, good and excellent cable (note the thickness).
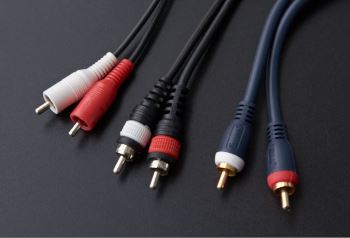
Cables of different quality, going from cheap (left) to semi-pro (right).
Mute all annoying apps.
If you are using your computer as source and don't want other sounds to mix to your music when you're recording, you have to mute them all, something that can be done in Windows.
First you have to disable all OS sounds. In Windows, do right click on the speaker icon and click over Sounds. Then select No sounds from the drop-down list. All OS sounds are muted now.
Muting all OS sounds in Windows.
However, although there won’t be sounds coming from the OS, they can come from the browser or other applications (email notifications, videos or advertising inside a webpage, etc), so the best practice is to close all those apps. Don't forget other apps that can bore you with notifications: skype, messenger, antivirus, etc...
However, sometimes you may prefer not to close them but to mute all them. This way you can still work on them but at the same time be sure they won’t ruin your recording. In that case, right click over the speaker icon and then over Open volume mixer.
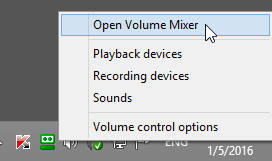
Opening the volume mixer in Windows.
Then you have two options:
- Pull every app's slider all the way down. Now you can be sure they won’ disturb you at all. Be aware that this setting will be lost every time you close and open any of these apps, or when you shut down and start the computer again.
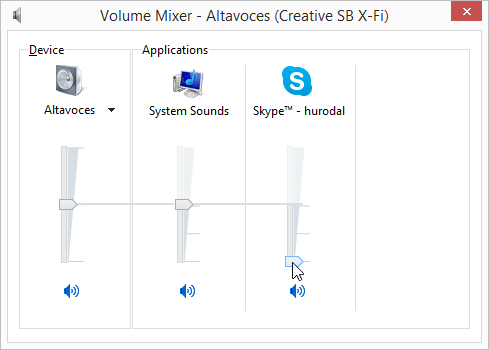
Pulling down Skype's volume slider.
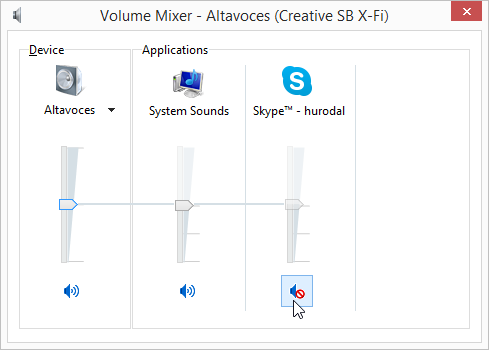
- Mute the app (you can mute system sounds too), clicking over the speaker icon below. The result is the same, but this one it’s quicker to do. I prefer this one.
Opening the volume mixer in Windows.
The best option, however, is to enter the preferences of each one of them and disable sounds (if that thing is possible). But if you're not sure or cannot find it, you may choose any of the options mentioned above. Be aware, however that most of these apps leave a small utility running in the background and when you close the main window, the utility keeps running.
This is common with apps like Skype or the Antivirus. In those cases you usually have to right clic over its icon and choose Quit.
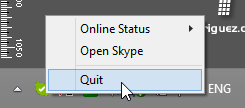
Totally shutting down Skype.
Normalizing the levels of the songs.
Usually many tutorials talk about normalizing volume level of the songs but, frankly... do you really believe that a professional audio engineer can do such a basic mistake? Well… I do not.
But… say you downloaded pirated copies of MP3 from an untrusted source; in this case it can happen. When creating MP3 from a CD, many ripping programs do other things and not just copy and compress: adjust volume, apply filters to the sound, etc... In that case, the original volume of the song could have been modified and, thus, a normalization is needed. Well, in this case I’ll pass over these files and would try to buy good ones.
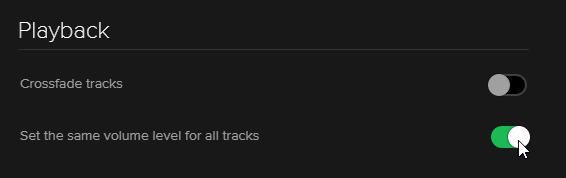
Normalizing volume in Spotify
The best way, of course, is to buy the official files or the original CD. What I mostly do is to buy the CD in 2nd hand stores, as many can be found for ridiculously cheap prices.
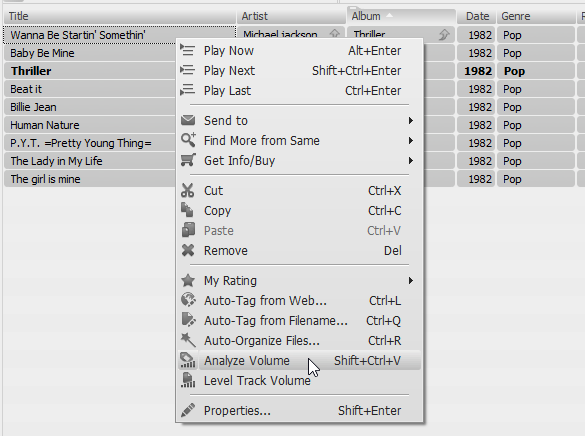
Anyway, if you want to rip and/or normalize, you can easily do it with many programs. In windows, an excellent option is MediaMonkey. Just select the songs you want to normalize, right click over them and select Analyze volume.
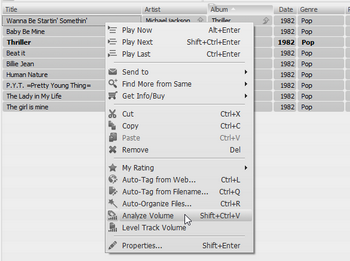
First step is to analyze the volume of the songs in Mediamonkey.

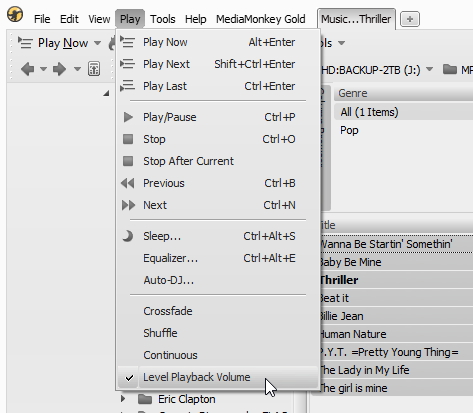
And then normalize the playback volume.
However, I prefer to just record each song separately, making pauses and searching for the proper recording level for each one, rather than normalizing and recording all them in some sort of non-stop session.
Be aware that for many programs, the term ‘normalize’ means make the music sound at the same average perceived loudness level, which depends a lot on the very song’s dynamic range. But what we really want for these is to equal the peak level for each song, because we want to avoid signal saturation in the tape. That’s because dynamic range matters… (I assume you have watched my video How to adjust the rec level).
|